

We love salt dough crafts here and Easter is no exception to make some salt dough ornaments! If you have an Easter Tree these are perfect to make as DIY Easter tree ornaments. If you don’t have an Easter tree, you can still make these and hang around as Easter decorations or give as gifts for Easter. Kids love helping to make salt dough and they will have even more fun decorating these salt dough Easter eggs!
RELATED: Salt Dough Ornaments
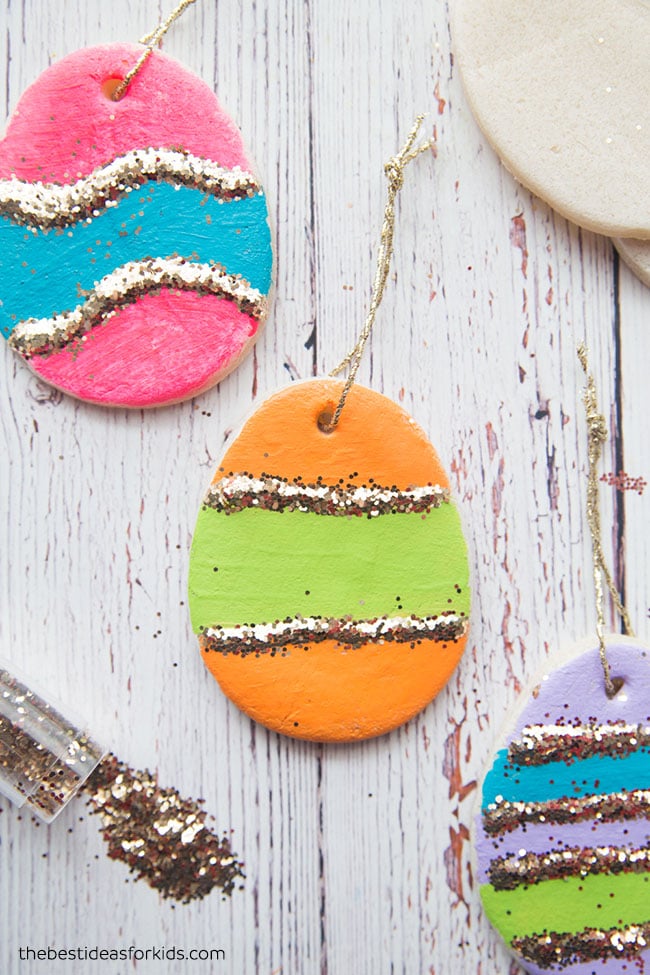
Salt Dough Easter Egg Ornaments
This is a great classroom Easter activity as you can have each child decorate their own Easter eggs. Just keep in mind you will need to bake them or let them air dry for a few days and send home with additional baking and sealing instructions.
We love that you can paint these in so many ways that each Easter egg ornament will be unique.
Making salt dough is really easy! You only need 3 ingredients: flour, salt and water. And just a friendly reminder due to the salt content, please keep away from pets as it can be toxic to them.
You’ll also need an Easter Egg cookie cutter so you can easily make the Easter egg shapes.
Supplies Needed for Salt Dough Easter Eggs
- Salt Dough Recipe (get our Salt Dough Recipe HERE with exact measurements and step-by-step instructions to make it)
- Easter Egg cookie cutter
- Acrylic Paint – we used neon paint colors – pink, purple, green, orange and blue
- Mod Podge (glossy) or we like this spray for a durable finish
- Glitter
- Gold twine for hanging
Watch the full tutorial video here before you get started!
Directions to Make Salt Dough Easter Eggs
Once you’re done making your salt dough (print the recipe off here first), follow these steps to turn them into your Easter egg ornaments.
1. First, make your dough. You can print off our salt dough recipe here which has the exact measurements and baking instructions to make your salt dough.
2. Once you’re done kneading, roll out the dough to about 1/2 cm in thickness.
3. Using an Easter egg cookie cutter make your ornaments and place them on a baking sheet.
Tip: Use a non-stick baking sheet so your ornaments do not stick.
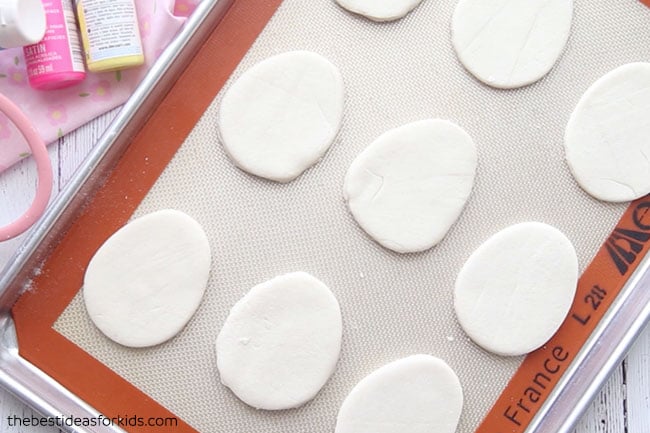
*Don’t forget to add a hole for hanging before baking! We used a straw at the top of the Easter egg to make a hole.
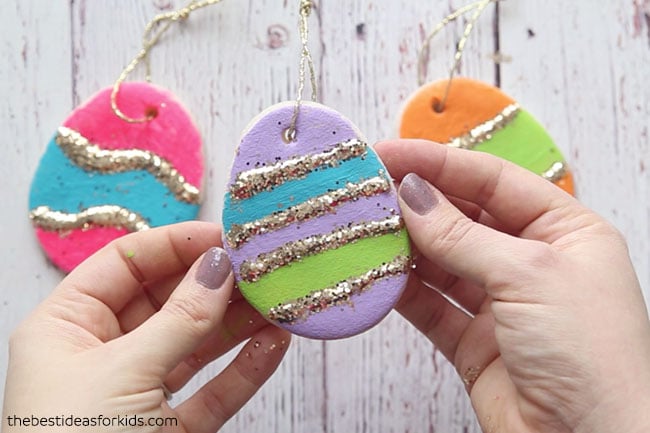
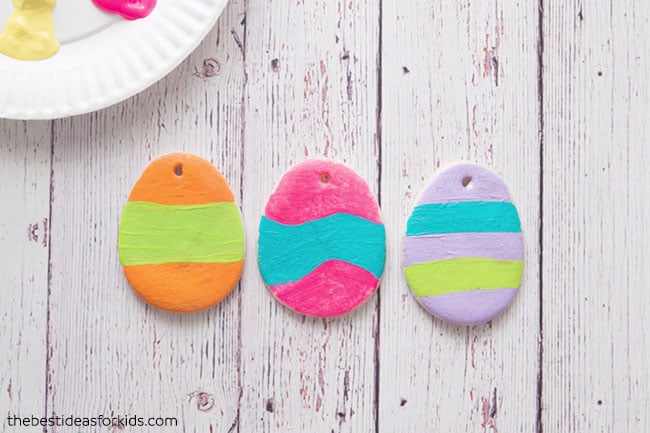
4. Once completely dry, paint your Easter eggs. Get creative here and paint them however you like! We did some wavy and some straight.
5. Once you are done, don’t forget to seal with either mod podge or a clear glaze spray. We like this spray for a durable finish. Adults should do the spraying and always follow directions of the product chosen. Sealing the final ornaments will help stop them from cracking in a few years.
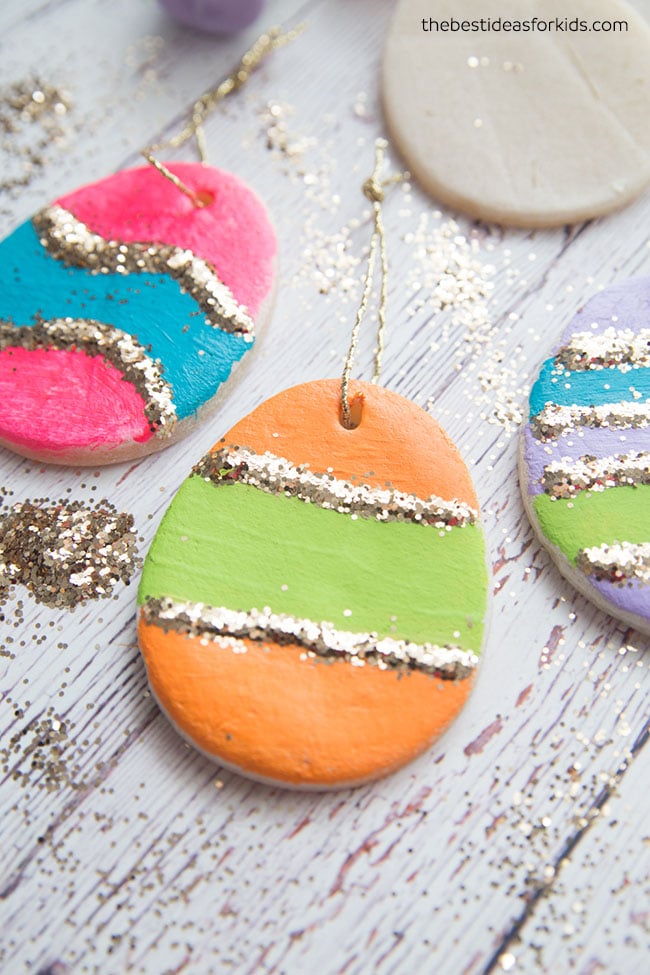
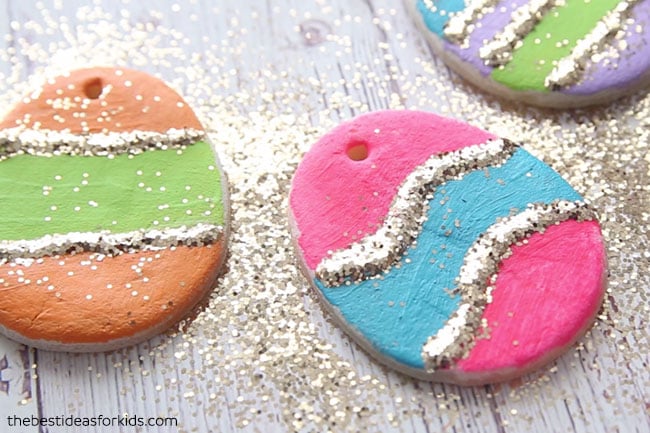
6. For extra decoration, add some glue to your salt dough Easter eggs and then pour glitter on top. Shake off any excess glitter.
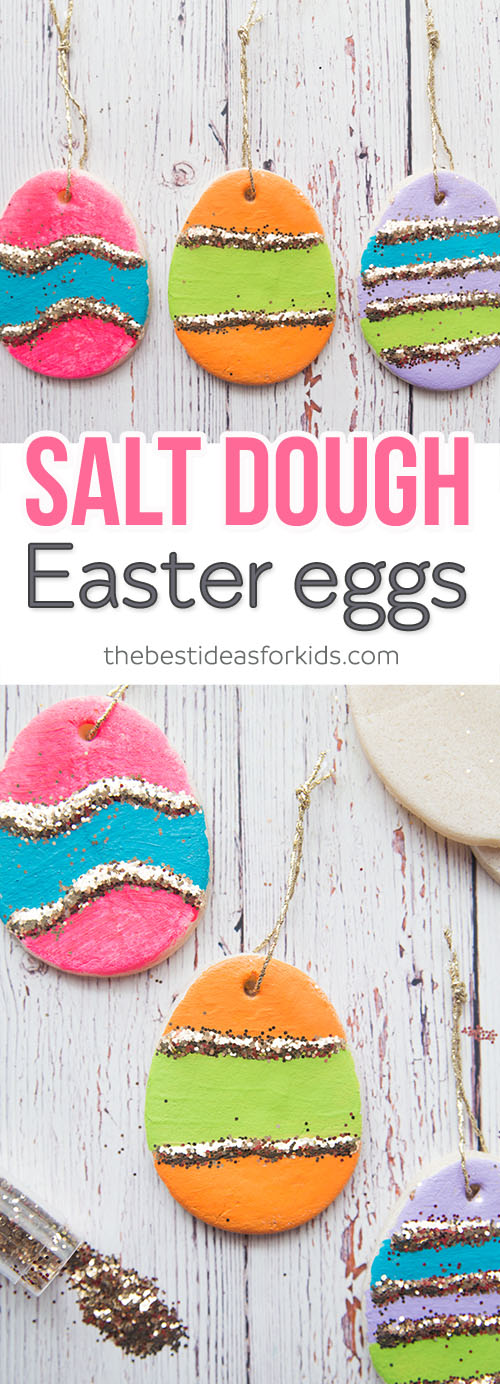
7. Then add some gold twine for hanging. Aren’t these so pretty? Kids will love helping to make these Easter ornaments!

You can make a large batch of salt dough and turn them into so many different ornaments and keepsakes!
See these other great salt dough ideas:
– Salt Dough handprint ornament
– Salt Dough glitter ornaments
Pin this post for later so you can easily come back to make these Salt dough Easter eggs!
More Easter Egg Crafts
Here are a few more of our favorite Easter egg crafts!
These potato stamped Easter eggs are so fun to make! Make the paper eggs and then add them to this paper plate basket.

See 25+ easy Easter Craft Ideas for Kids.


What is the cooking temp and time for these???
Hi Courtney – in the instructions above there is a link to our salt dough recipe to make the salt dough first, it has the full step-by-step instructions.
A well done set of instructions – thank you. I look forward to making these with my 2 granddaughters.
Thank you Nancy! We hope you have fun!
Hi love the idea. Quick question, I did use a salt dough for making some Christmas ornaments a couple of years ago. Painted them with my class but didn’t glaze them. I found that they became soft after a while(not like uncooked dough but they weren’t hard, more like spongy). Does adding the glaze help with that?
Adding the glaze does prevent them from getting moldy so are you in a more humid environment? If they were exposed to a lot of moisture without sealing then yes that can cause them to get soft again. Definitely seal/glaze next time and you should be fine!