

Turn pasta and cardboard into these wintery pasta snowflake ornaments! Gather different pasta shapes you have in your house (or make a special trip to the store for especially fun shapes!) and have fun creating these snowy upcycled ornaments.
RELATED: Q-tip Snowflakes
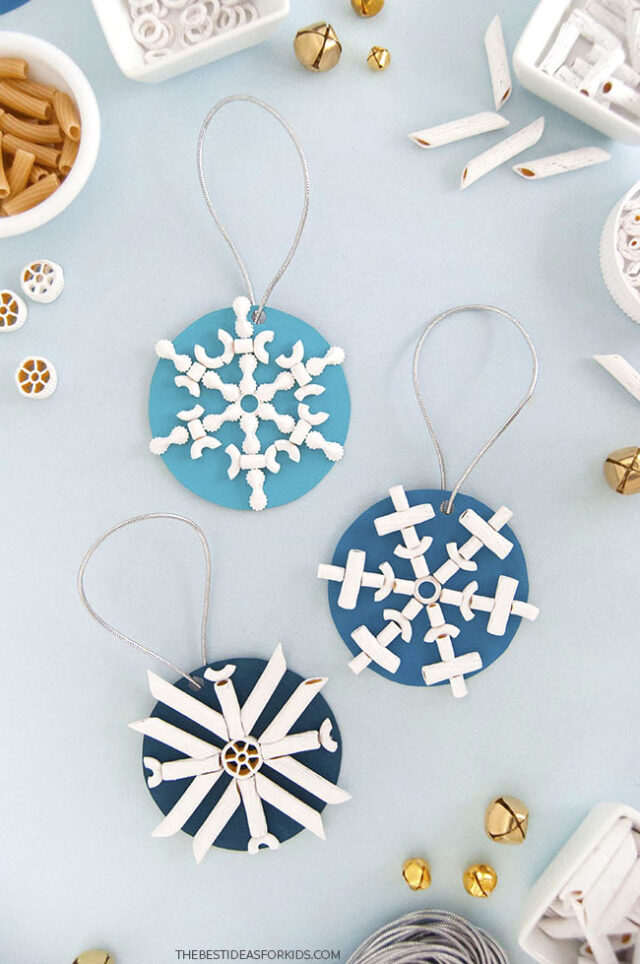
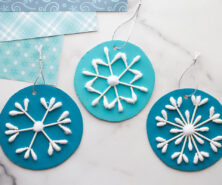
Pasta Snowflake Ornaments
This holiday project is a great way to craft with things you already have around the house – upcycle an empty cereal box and use up small amounts of mismatched pasta in the pantry.
Check your pantry for any expired pasta too – and invite kids to create their own snowflake designs.
Follow the designs below or print off different snowflake images for inspiration.
Supplies Needed
- Pasta – there are so many fun shapes that will work for this!
- Cereal box cardboard – grab some from your recycling bin
- Paint – white for the pasta and shades of blue for the background. We like this set of acrylic paint.
- Paintbrushes – a medium one for the blue backgrounds and a fine one for pasta touch-ups
- Glue– for attaching the pasta to the cardboard. White glue will work but for a strong hold, we like to use tacky glue, just let the pasta dry for at least 1 day. You can also use hot glue (with adult assistance).
- Scissors – for cutting out cardboard circles
- Hole punch – to turn the snowflakes into ornaments
- Parchment paper – or wax paper, for letting the painted pasta dry
- Twine or cord – for hanging the ornaments
- Freezer bag – for painting the pasta noodles
- Pencil – for tracing out the circles
How to Make Pasta Ornaments
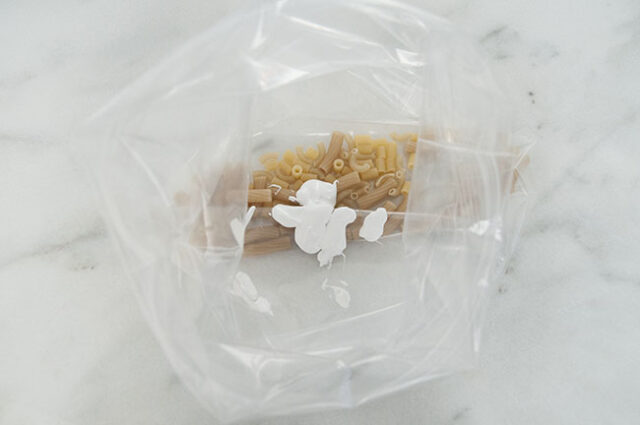
1. Paint the pasta.
Place a few handfuls of dry pasta noodles into a freezer bag and squirt some white paint into the bag.
Seal the bag and then use your hands to shake the pasta around, massaging the paint and pasta around the bag so that it is all coated in paint.
If you find the pasta isn’t all getting painted, add more paint to help the paint flow more easily in the bag.
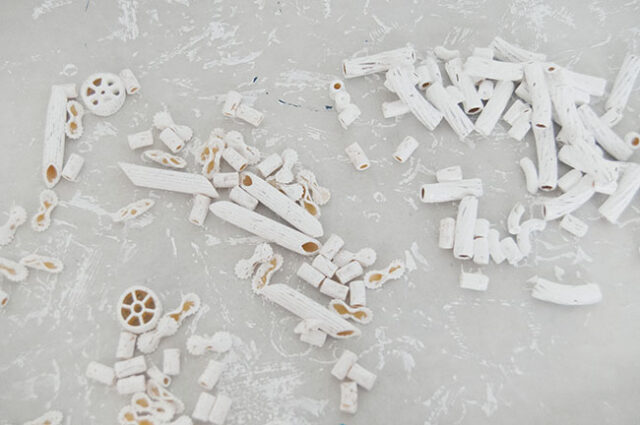
2. Let the painted pasta dry.
When the pasta looks to be all painted white, dump the bag onto a piece of parchment paper and separate the noodles so that they’re not touching each other, as much as possible.
Let them dry for a few hours until completely dry.
3. Trace circles onto cardboard.
Find a lid or round bowl to trace onto the cereal box cardboard. Cut out as many as needed.

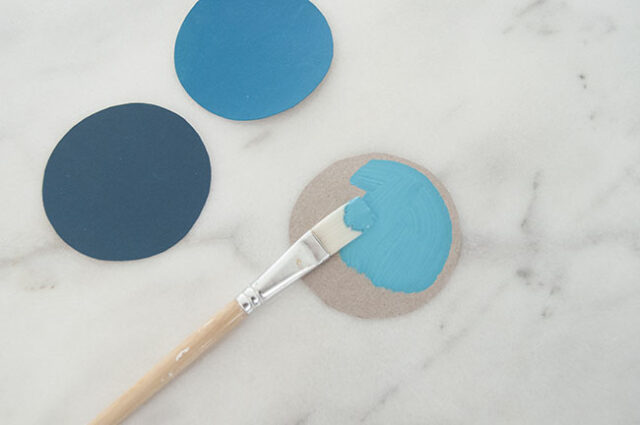
4. Paint the cardboard circles.
Choose a few shades of blue to paint the cardboard circles. Set aside and let dry completely.
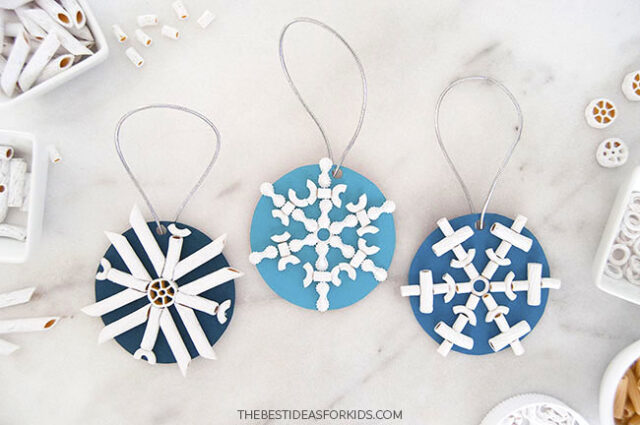
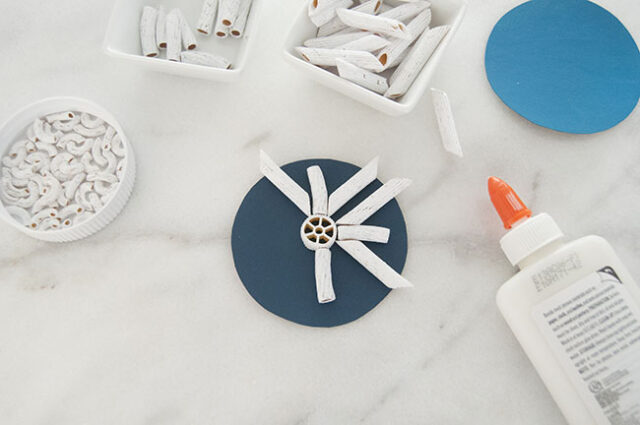
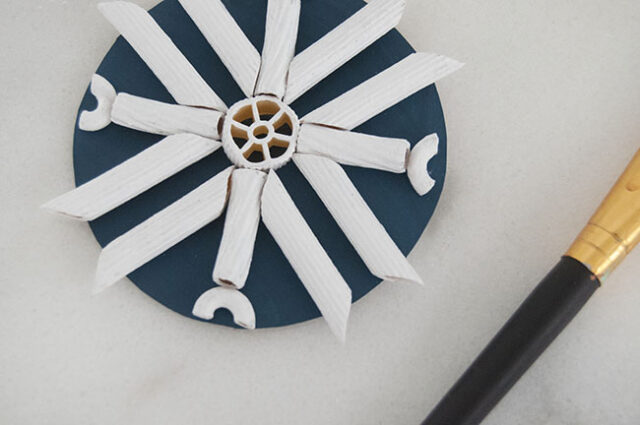
5. Glue pasta onto the circles.
When both the pasta and cardboard circles are completely dry, begin arranging the pasta into snowflake shapes onto the circles. Glue them in place and let dry.
6. Do paint touch-ups.
If there are any parts on the pasta that did not get painted, use a fine-tip brush and white paint to add a quick coat onto the tops of the pasta noodles.
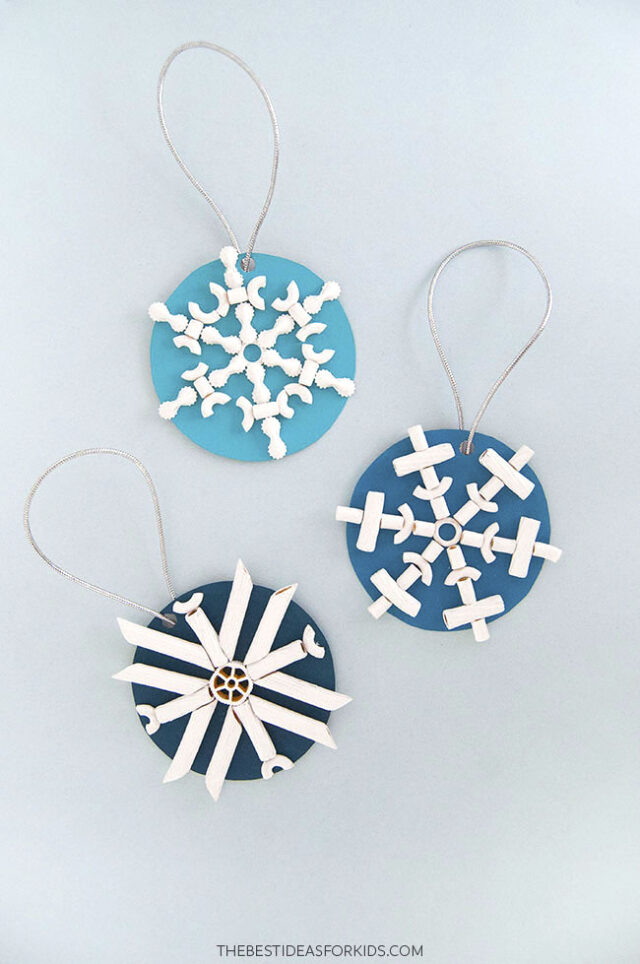
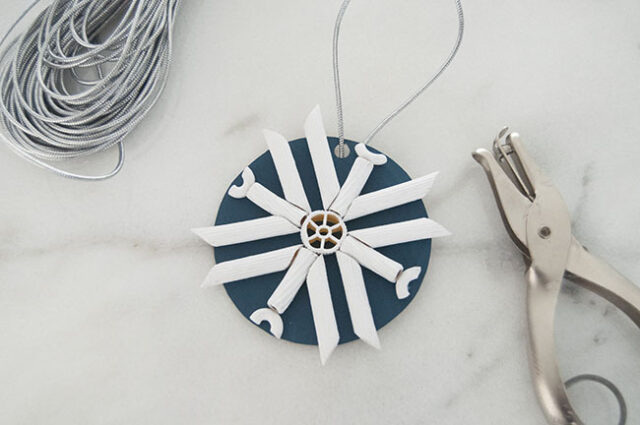
7. Punch a hole and tie cord.
Use a hole punch to make a hole in the ornament.
Cut a piece of cord or ribbon and thread through the hole, tying it into a loop.
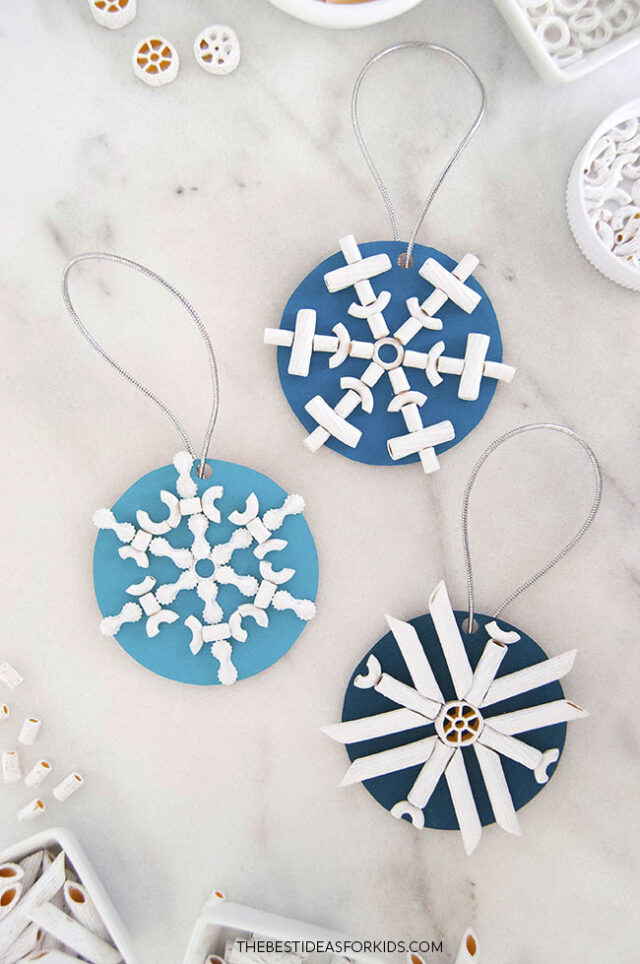
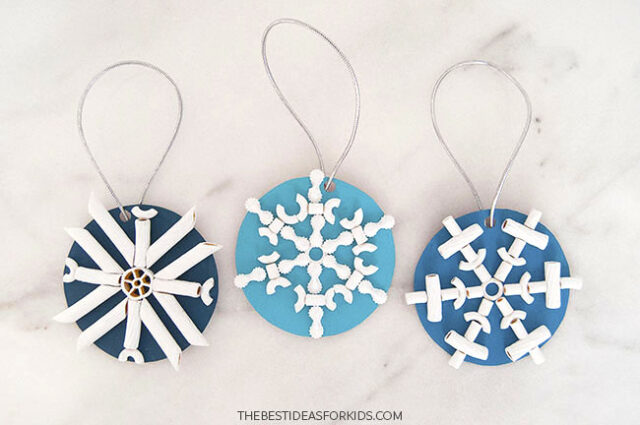
These pasta snowflakes are so fun to make and the possible designs are endless!
Have fun creating these pasta snowflake ornaments with your kids this winter and admire them for years to come.
Take our FREE 5-Day Craft Challenge!
With screen-free activities for kids.


Share a Comment!
We LOVE hearing from you! Submit your question or comment here.
Your email address will not be published.
Required fields are marked *