

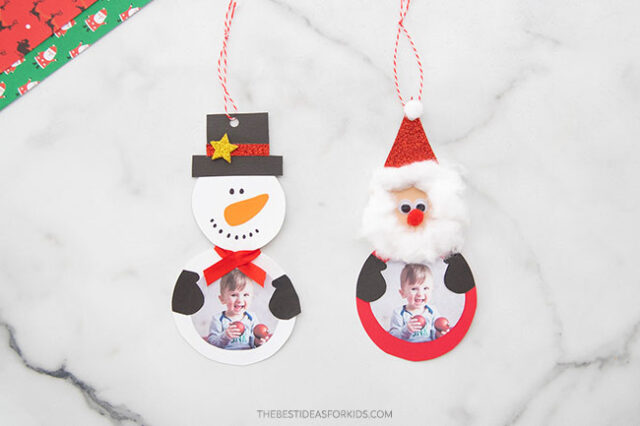
Create these cute DIY paper photo ornaments with a snowman or Santa to choose from! You can create them with a photo or without. Adding a photo is a fun way to make a personalized keepsake ornament!
RELATED: Christmas Crafts for Kids
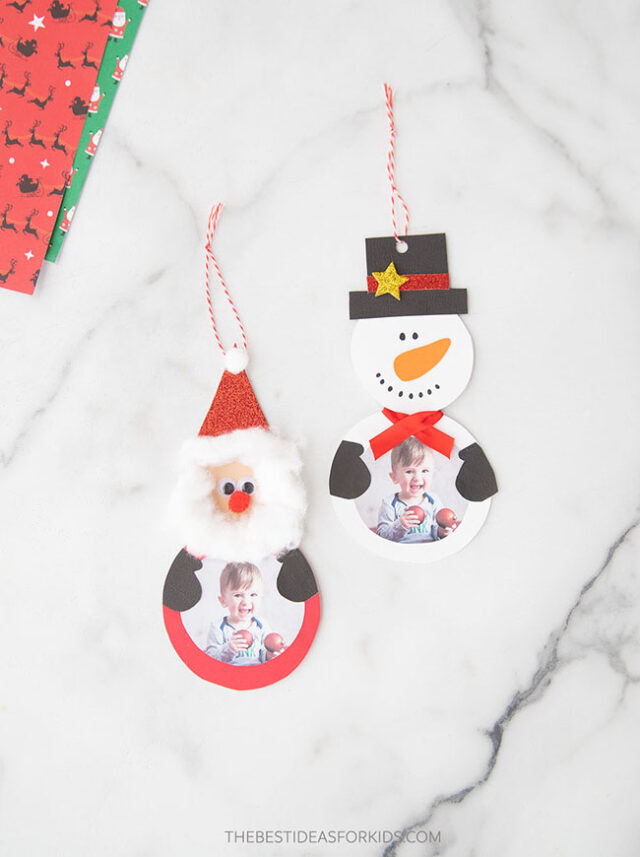
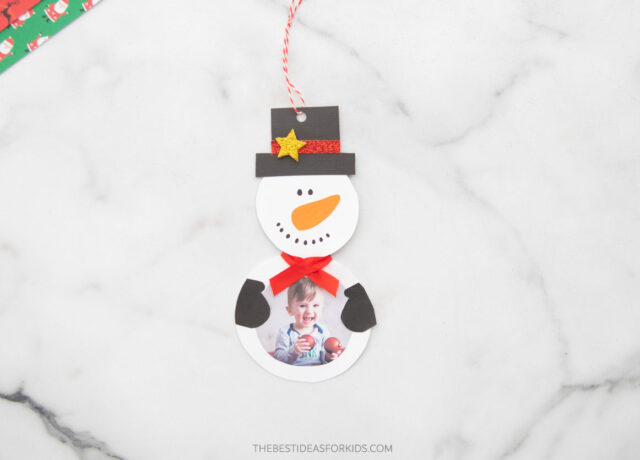
Snowman and Santa Paper Ornament
These paper photo ornaments are so cute and easy to make! Just grab our free printable templates and a few other supplies and you can easily make these.
Add a photo to the bottom of the ornament or you can leave this area blank and decorate the snowman or Santa body instead.
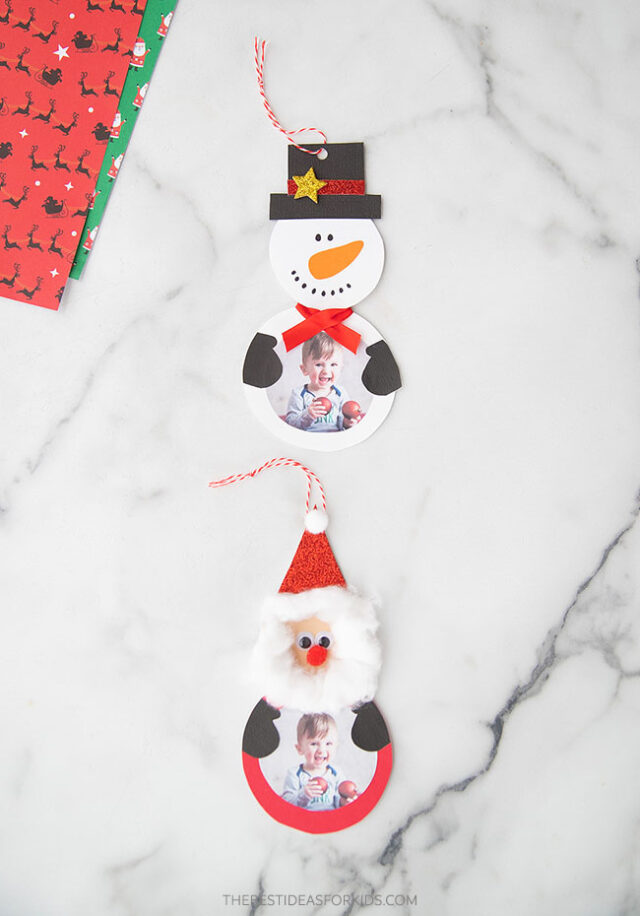
These snowman and Santa ornaments would also make cute decorations for the fridge or a bulletin board.
Make these in a classroom and add all of the student’s pictures to their snowman or Santa.
Watch the Video Tutorial

Supplies Needed
- Colored cardstock – orange, red, white and black
- Red & white twine – we like this 1mm size for paper ornaments since it’s thinner
- Pom poms – red and white (0.4-0.6 inch size)
- Paint – for Santa’s face. See some paint options here.
- Snowflake confetti or foam star for snowman’s hat
- A photo
- Thin red ribbon (3/8 of an inch size)
- Black marker
- Templates – see the bottom of the post for the free printable templates
How to Make the Paper Photo Ornaments
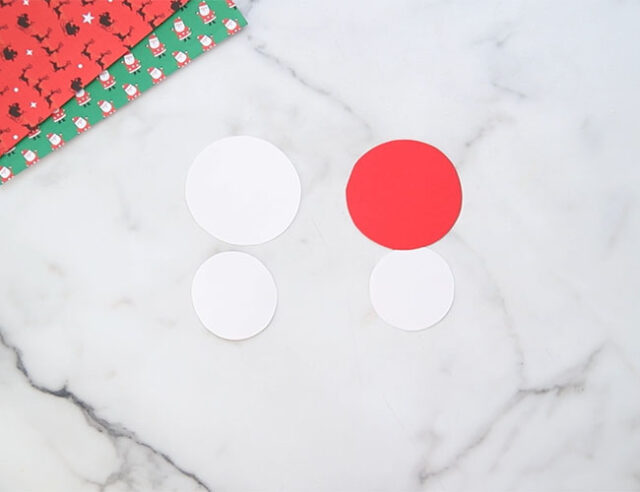
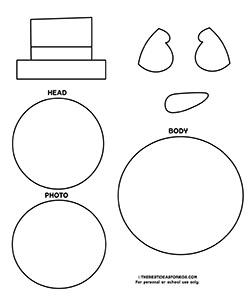
1. Cut out the template pieces.
Use our free printable templates to make the head and body for the snowman and Santa.
Get the free printable templates at the bottom of the post.
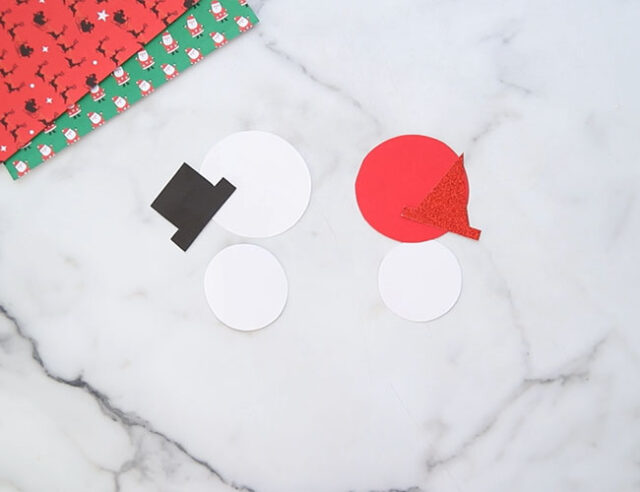
Trace around the template for the snowman and Santa hat.
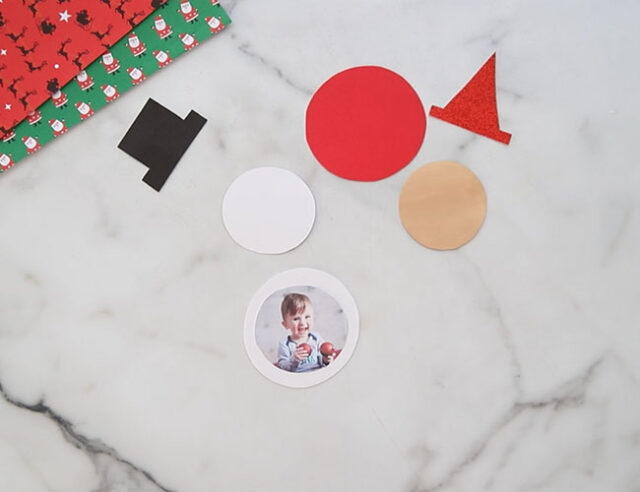
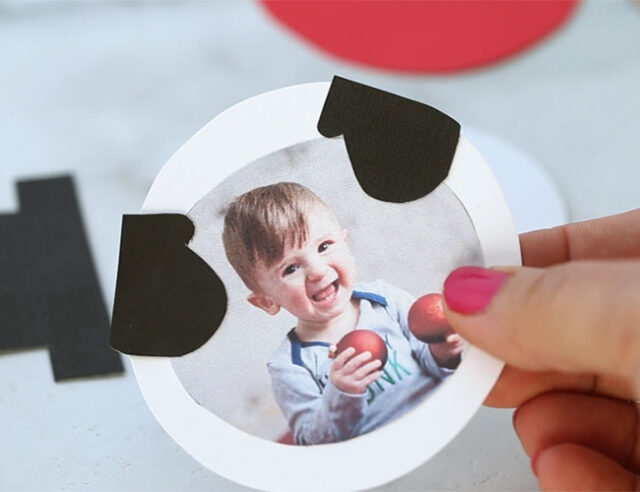
2. Trace around the photo circle template.
Use the photo circle template to trace around a photo and cut out the photo. Glue the photo to the snowman or Santa body.
3. Make the mittens.
Use the template to trace around black cardstock and cut out 2 mittens for each body.
Glue the paper mittens to the top of the body with the thumbs on the top.
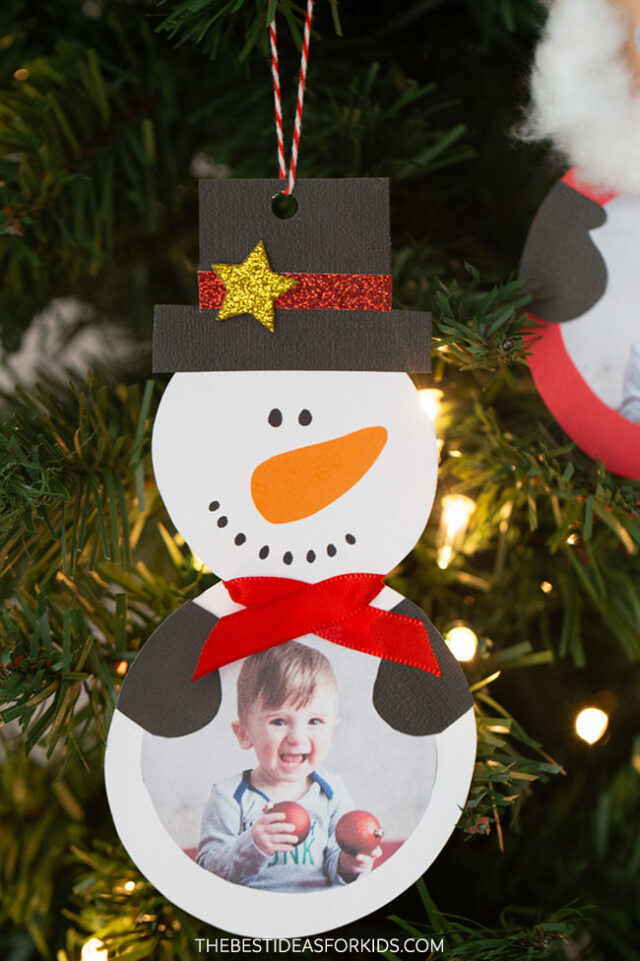
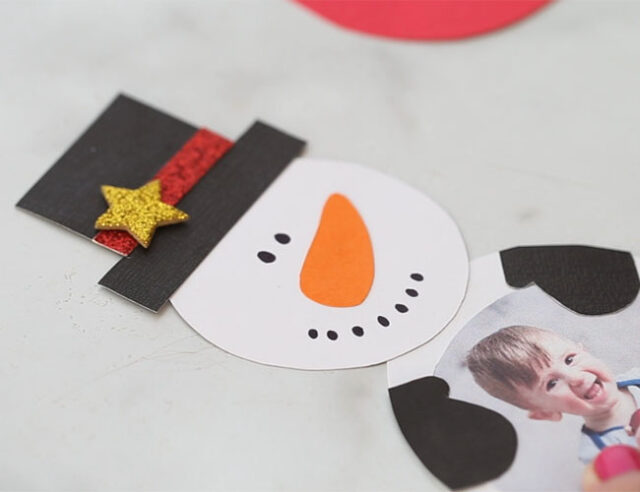
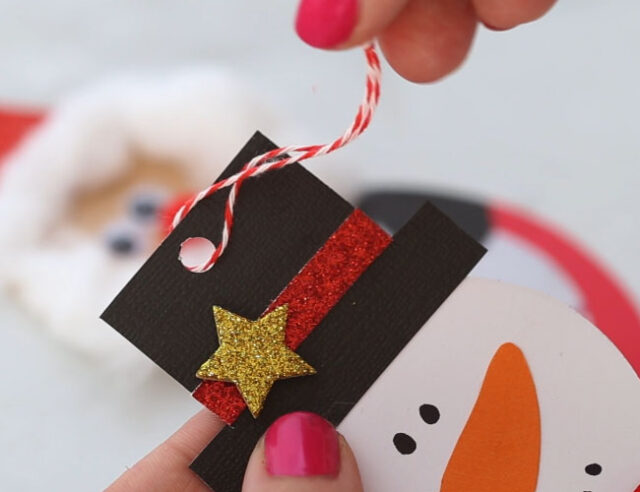
4. Make the Snowman head.
Add a strip of red glitter paper to the snowman hat and add a foam star or snowflake confetti for decoration. Glue the hat to the top of the snowman’s head.
Cut out the snowman carrot template and trace on orange cardstock and glue to the face. Use a black marker to draw on the eyes and mouth.
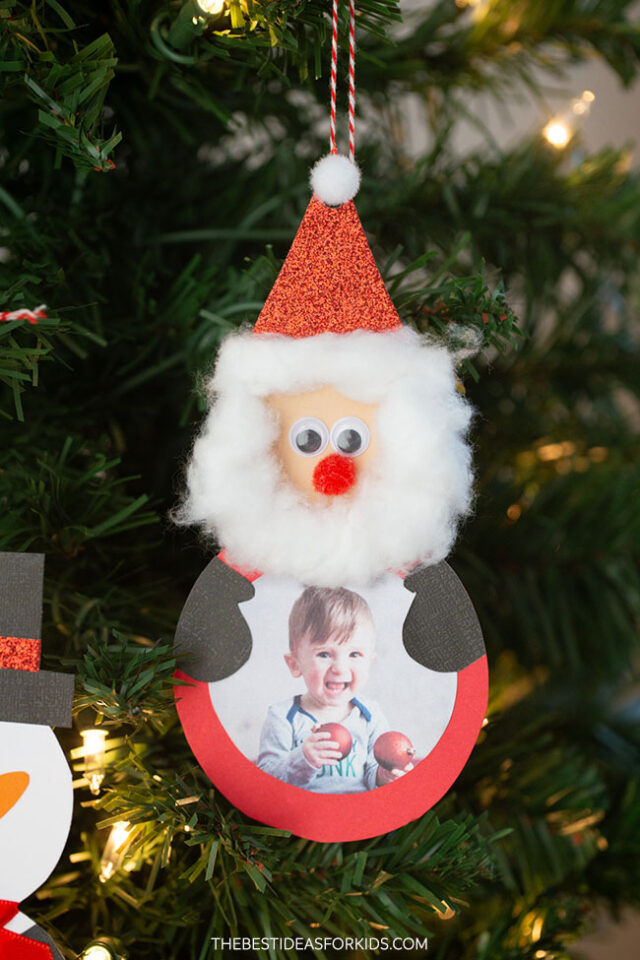
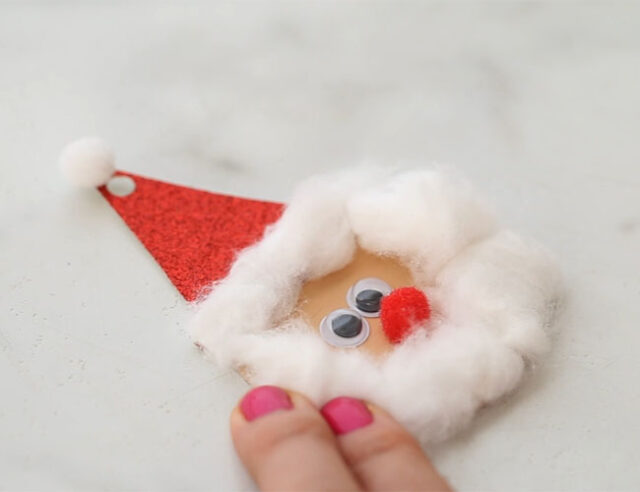
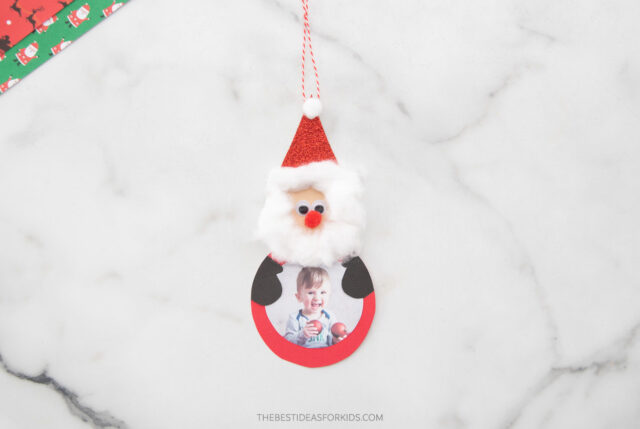
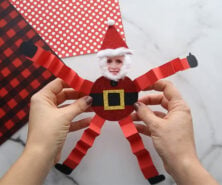
5. Make the Santa head.
Paint the Santa head in the color of your choice. You can also use colored paper.
Add cotton balls to the bottom of the Santa hat and a pom pom to the top. Add a hole punch below the pom pom for hanging.
Add more cotton balls around the Santa head for the beard.
Then glue on 2 small googly eyes and a red pom pom for the nose.
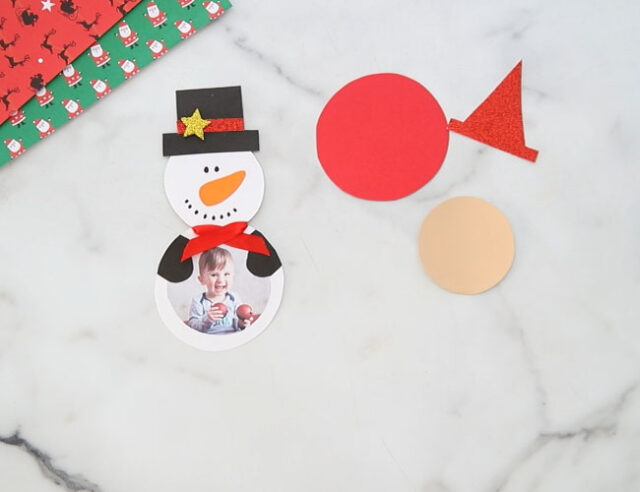
6. Glue the heads to the body and and a scarf to the snowman.
Glue the snowman head and Santa head to the body. Cut a small strip of red ribbon and tie around the snowman (for a scarf) and glue down.
7. Add some twine or string.
Make a hole punch at the top of the Snowman hat and add some string or twine for hanging.
Add the string or twine to the Santa.
These simple paper ornaments are not only fun to make, but they look great on the Christmas tree too!
Get the Templates
Enter your email below and we’ll send you the free templates. You’ll also receive our free weekly newsletter.
Already a subscriber? Don’t worry you won’t be subscribed twice! Unsubscribe any time.
See more Christmas crafts with 50+ Christmas crafts for kids.
See more Christmas photo crafts:


Share a Comment!
We LOVE hearing from you! Submit your question or comment here.
Your email address will not be published.
Required fields are marked *