

This DIY snow globe ornament is really easy to make! Use our free printable templates to make a photo ornament, color one of the printable designs or have kids create their own!
RELATED: How to Make a Snow Globe
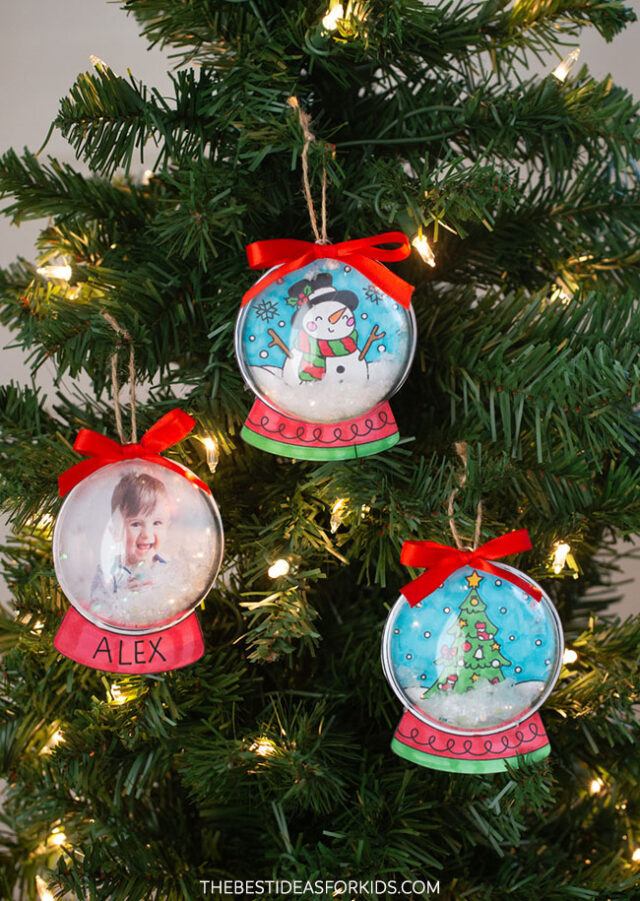
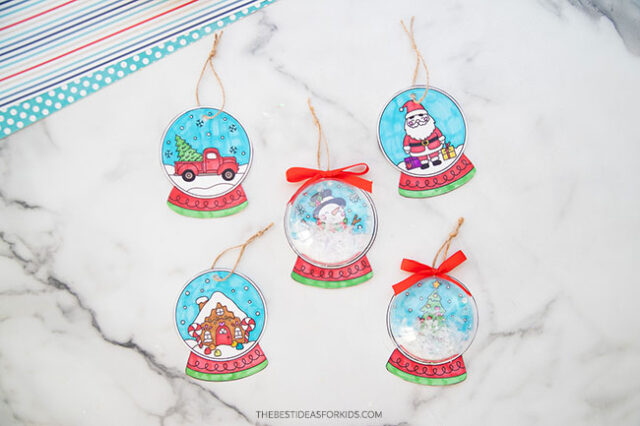
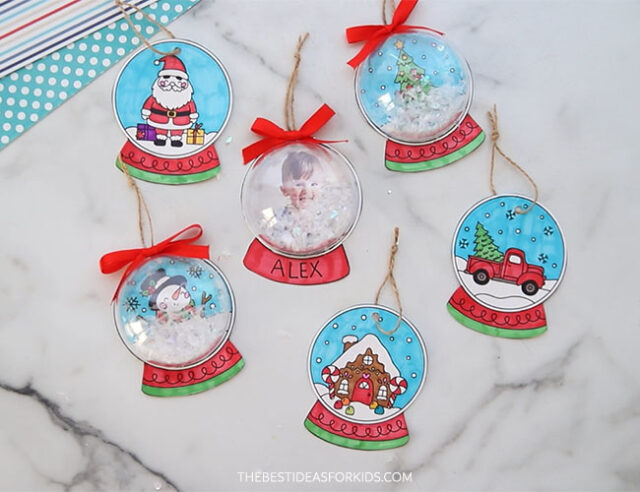
DIY Snow Globe Ornaments
These homemade snow globe ornaments are really fun to make! And they can easily be customized to all different ages.
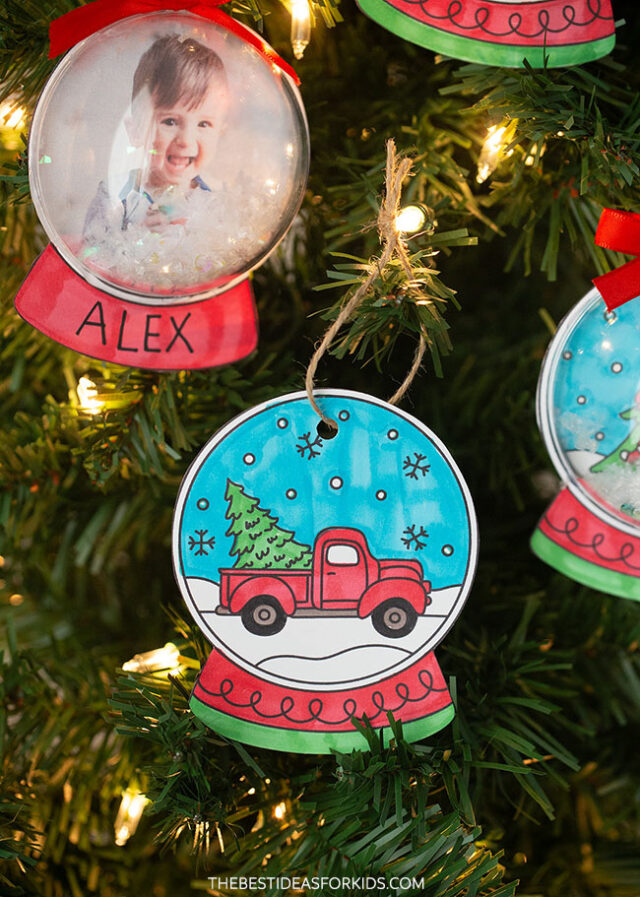
Choose the printable templates for younger kids to color or have them design their own.
Use the blank template for making classroom crafts and kids can add their own names to it:
You can add a plastic snow globe on top of the ornament to make it 3D or leave them as paper ornaments and hang them on the tree.
Watch the Video Tutorial
Supplies Needed
- White cardstock – you want a thicker paper to print the snow globe templates on
- Coloring supplies – markers or colored pencils
- Clear plastic ornament – you need the kind of ornament that opens into 2 pieces. It should also have a part at the top of the ornament you can hang string or ribbon on. The size we used was 80mm. It is important to get the right size so it fits the templates. You can find them here.
- Red ribbon – we used 3/8 inch size
- Fake Snow – this is snow filler used for Christmas decorations
- Hot Glue – for gluing the clear plastic snow globe on (with adult assistance)
- Snow Globe Templates – get the templates at the bottom of the post on the form with a preview of the template
How to Make DIY Snow Globe Ornaments
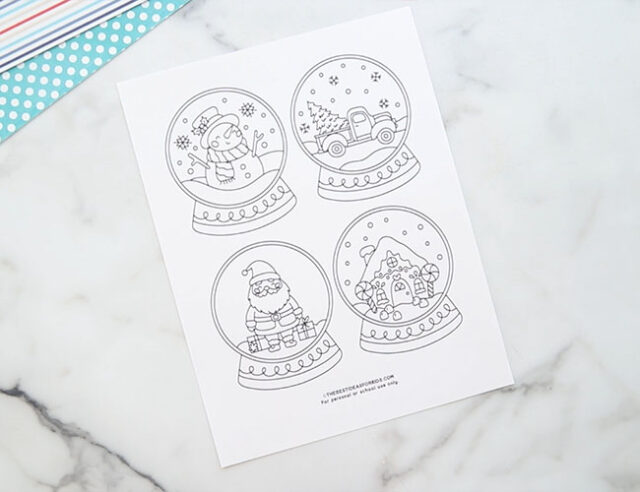
1. Print off the templates.
You can get the templates emailed to you at the bottom of the post.
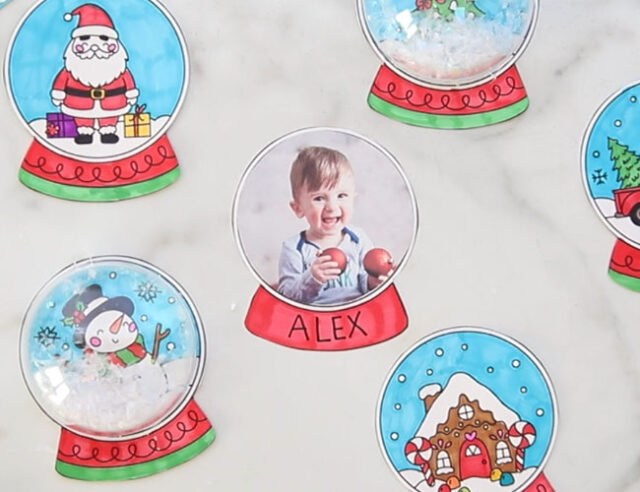
Choose between the different snow globes with pictures to color, a blank one (kids can design their own) or use the fully blank version to create a photo snow globe ornament.
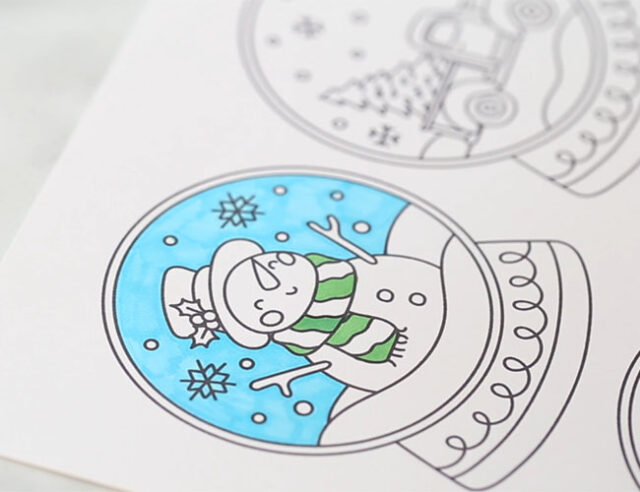
2. Color the templates.
If using a blank template, have kids draw their own picture and color it.
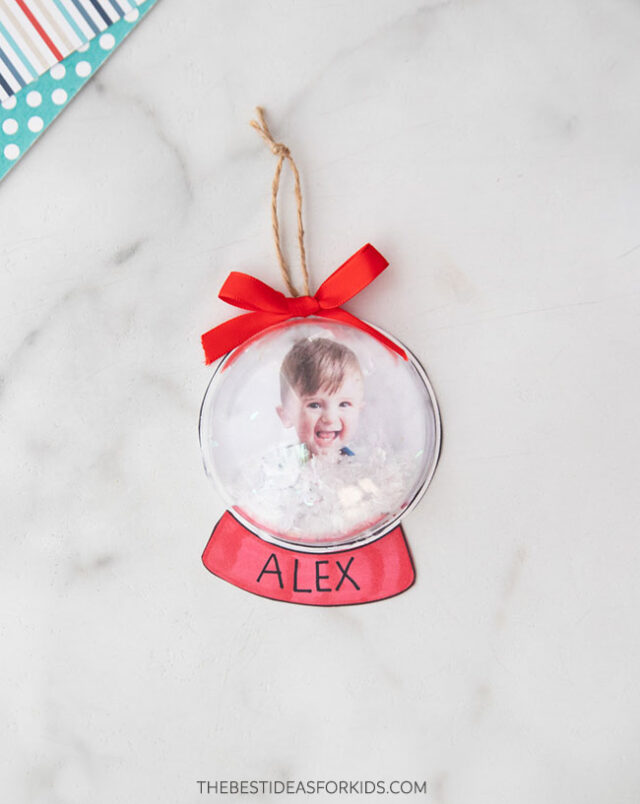
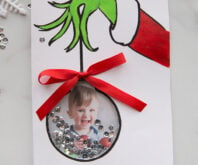
If creating the photo snow globe, color the bottom of the template and add the name and date to it.
3. Cut out the photo.
If you are creating the photo snow globe ornament, use one of the blank templates to cut out the circle from the snow globe. Then use this as a template to trace around your photo. Cut out the photo and glue it to the blank ornament template.
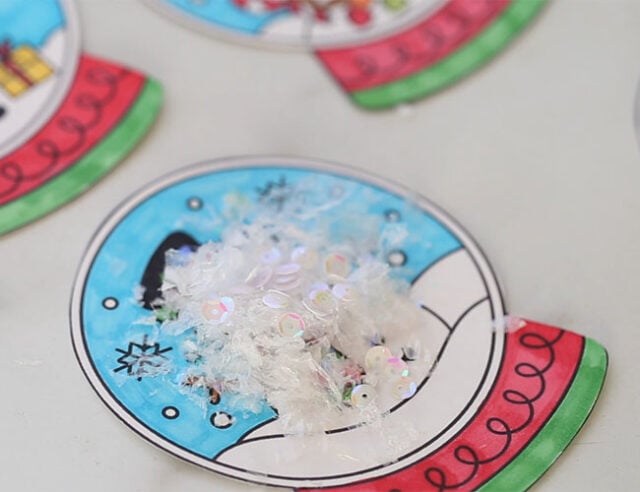
4. Add fake snow and sequins.
Add the fake snow and sequins to the middle of the snow globe before gluing the clear plastic ornament on.
You can also leave these as paper ornaments and hole punch the top and add some twine to them instead.
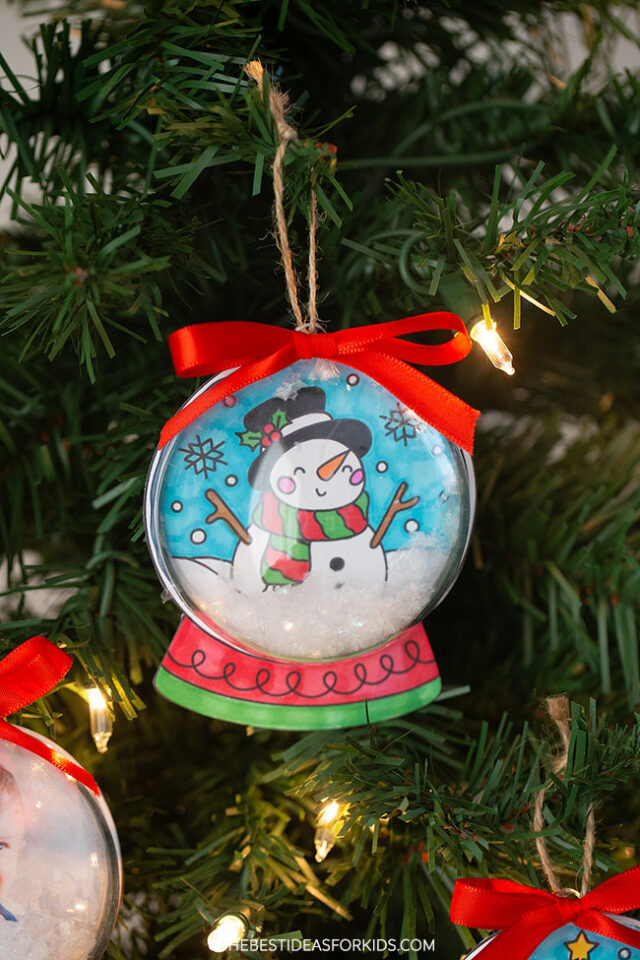
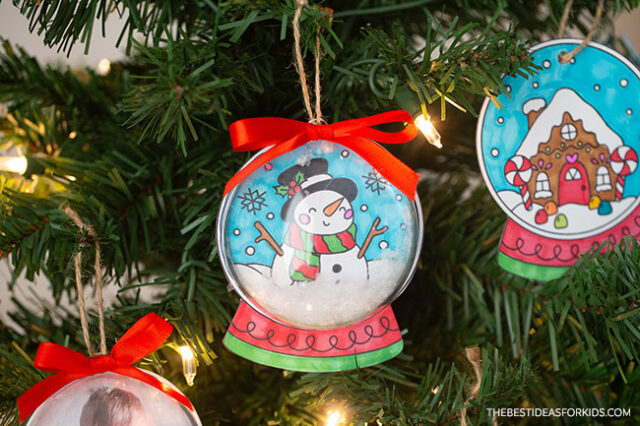
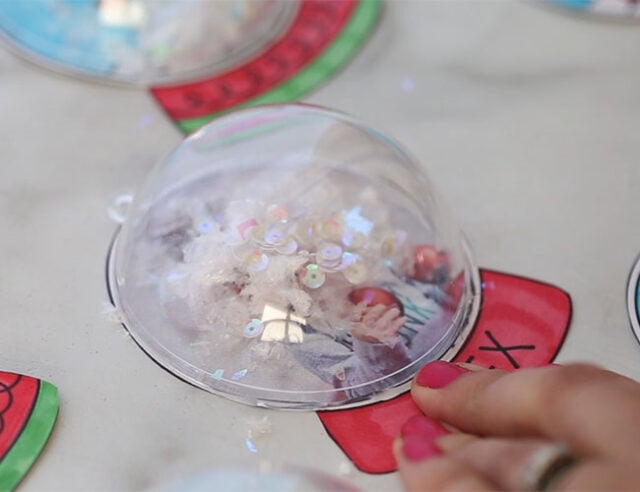
5. Glue half of a clear plastic ornament on top.
Have an adult help add hot glue around the edge of half of a clear plastic ornament and glue down to your snow globe.
6. Add twine and ribbon.
First add your twine through the hole at the top of the clear ornament. Then tie a ribbon and glue the ribbon to the top of the ornament.
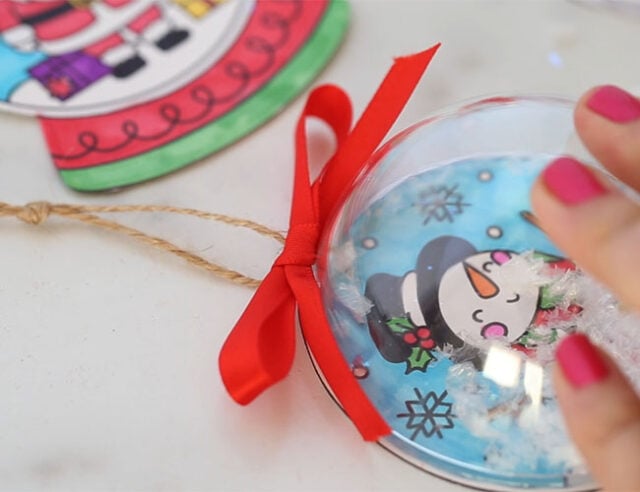
Now for the fun part, shake the ornament to see the snow and sequins move around inside!
These snow globe ornaments make fun gifts and we love how they can be personalized with photos, names and your own pictures!
Get the Templates
Enter your email below and get the snow globe templates sent to you. You’ll also receive our free weekly newsletter.
Already a subscriber? Don’t worry you won’t be subscribed twice! We do not share or sell your personal information. Read our privacy policy here. This form collects information we will use to send you our newsletter with latest posts and special offers.


Share a Comment!
We LOVE hearing from you! Submit your question or comment here.
Your email address will not be published.
Required fields are marked *